
The Simple 10-Second Pre-Lipstick Step That Makes Every Lipstick Shade Look Far More Flattering On Any Everyday Makeup Look
Most casual makeup lovers never notice the faint uneven skin tone around their lip line that warps their lipstick shade and ruins the overall balance of their full daily look
Almost every makeup wearer has run into this frustrating situation at least once: you pick up a highly recommended lipstick shade that looks stunning on beauty content creators, layer it carefully on freshly applied makeup, and find that it somehow comes out dull, off-tone, or strangely disharmonious with the rest of your face. Many people blame this mismatch on their natural lip color, the underlying skin tone, or even the quality of the lipstick itself, leading them to spend hundreds of dollars testing dozens of shades that never deliver the effect they see in demonstration clips. Very few people trace the root of this issue to a tiny, overlooked gap in their daily makeup routine that takes less than 15 seconds to fix completely.
The little known but highly effective trick focuses on the 1 to 2 millimeter wide strip of skin surrounding your natural lip line, an area that most people accidentally skip over when blending their foundation. This narrow zone usually has subtle discoloration from long term sun exposure, leftover shadow from fine vellus hairs, or faint darkening caused by frequent friction when wiping your mouth, and the total difference in brightness between this strip and the rest of your cheek skin is often less than half a beauty filter adjustment level, so the naked eye can barely detect it directly. Even so, this nearly invisible uneven tone acts like a faint color filter pressed directly against the edge of your lipstick, distorting the true hue of whatever shade you apply no matter how carefully you fill in the lip area afterward.
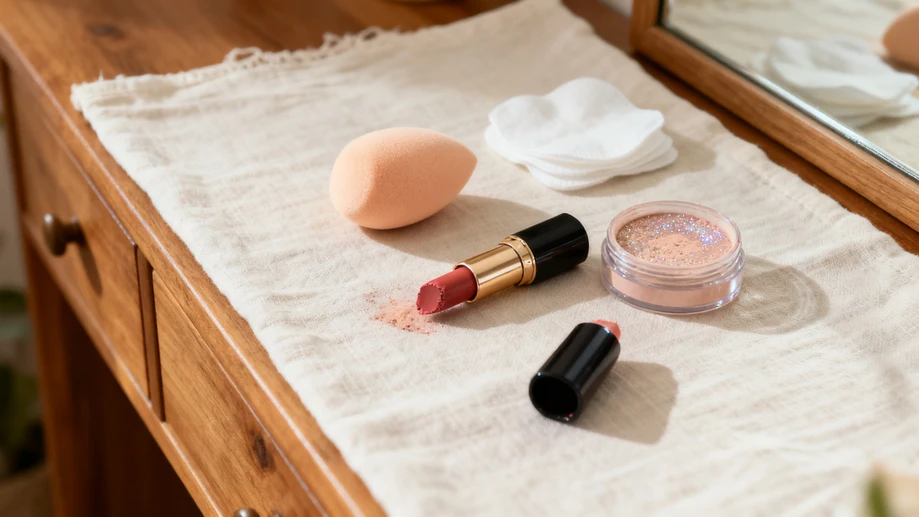
You do not need any special new cosmetic products to pull off this small step perfectly. After you finish blending your liquid or cream foundation across the rest of your face, leave the small amount of residual product on the pointed tip of your damp makeup sponge, and gently dab and blur it along the whole perimeter of your lip line, extending only 1 millimeter outward from your natural lip edge. You do not need to press hard or pile on extra foundation, and you also do not need to apply thick concealer in this spot, as even a super thin, sheer layer of product is enough to unify the brightness of the lip surrounding skin to match the tone of the rest of your foundation base. Once you finish dabbing, you can run a fluffy powder brush with a tiny amount of translucent setting powder over the same zone very lightly to lock the even tone in place, and the whole process will not take more than 10 seconds of your time.
Once you get used to adding this tiny step into your routine, you will notice a dramatic difference in how your lip products behave on your face. Soft, muted nude or tea-toned lipsticks that used to make you look washed out will suddenly show their intended warm or cool undertones clearly, blending seamlessly with your base makeup to create the soft, no-makeup makeup effect you have been trying to achieve. Bold, highly pigmented red or berry shades will no longer look like an obvious, foreign patch of color stuck on the lower half of your face, and their edges will merge with your surrounding skin so naturally that the whole makeup look appears more intentional and polished without any extra effort. This small adjustment also eliminates the common bad habit of drawing your lipstick outline far outside your natural lip line to cover up uneven lip perimeter tone, which usually creates a puffy, overdone look that ages your face visibly.
Many people worry that adding foundation to the area right next to their lips will lead to flaking, caking, or uneven layering when they apply lipstick on top, but this concern is completely easy to resolve with one tiny extra action. Before you swipe your lipstick across your lips for the first coat, just press a clean dry tissue lightly against your lip surface to absorb any excess sebum or leftover foundation residue that may have transferred to your lip skin during the earlier blending step. This not only prevents your lipstick from sliding around or breaking apart unevenly, it also creates a smoother base on the lip surface that reduces fine lines and helps the color adhere better, extending your overall lipstick wear time by at least two hours without any extra setting spray or special lip product needed. You will never need to second guess if a new lipstick shade will suit you again once you lock in this simple, low effort routine upgrade.